Mitosynth 1.1
Out Now
Mitosynth 1.1 has been released to the App Store. So what’s new? Quite a bit! The headliners for most people will likely be:
Inter-App Audio support
New Wavechamber modes: Painter and Gridcøre (see below)
Audiobus State Saving (stores which patch was in use)
Package creation
20 more built-in patches, from freaky noises to synth basics
A bunch of extra scales (and you can transpose them into different keys)
Other new features include:
Tube Resonance added to the Prefilter
Pitch Bend: can now set the range (1-12 semitones), and map to an XY Pad
Additional options for Bit Crush, High Pass and Low Pass filters
Per-wave semitone tuning and gain controls in the Blender & Gridcøre
Type in exact values for dials
(iPad only) Synth master output gain control on performance screen
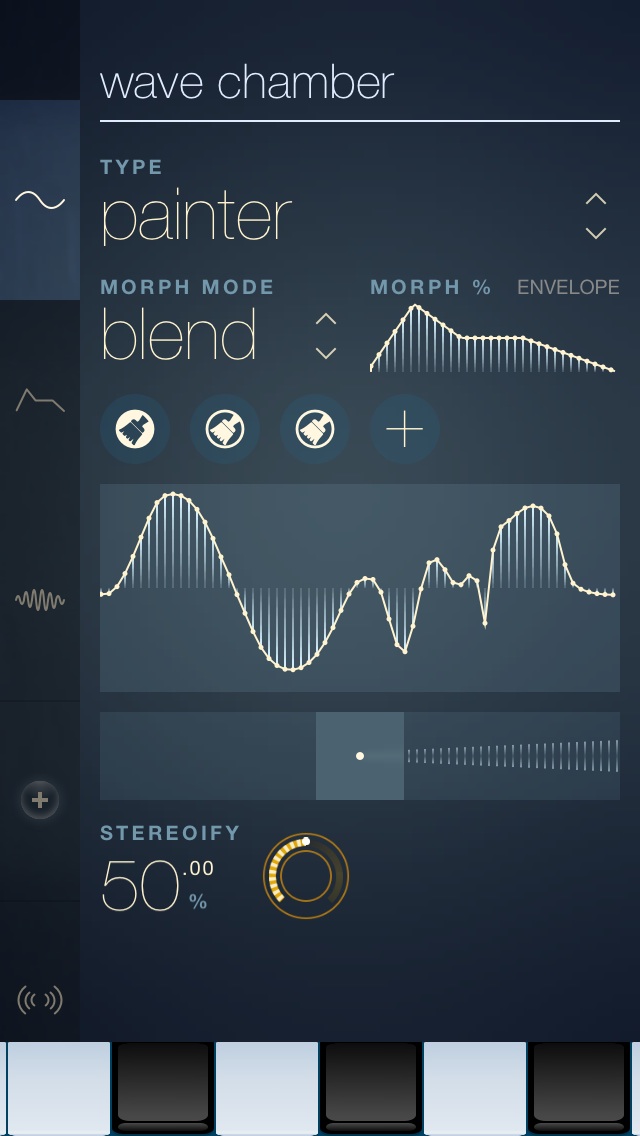
Painter mode
In Painter mode, you can draw your own single-cycle waveforms. If you switch into this mode with a simple waveform (sine, square etc) already loaded, it’ll use that as the starting point, otherwise you’ll start with a sawtooth. Just tap or drag on the waveform with your finger to paint it. There’s a brush size control underneath as well, and the painting area wraps automatically to ensure perfect loops. Of course you can copy, paste, load and save painted waveforms, and use them in the Blender or the new Gridcøre mode to combine them with other waveforms.

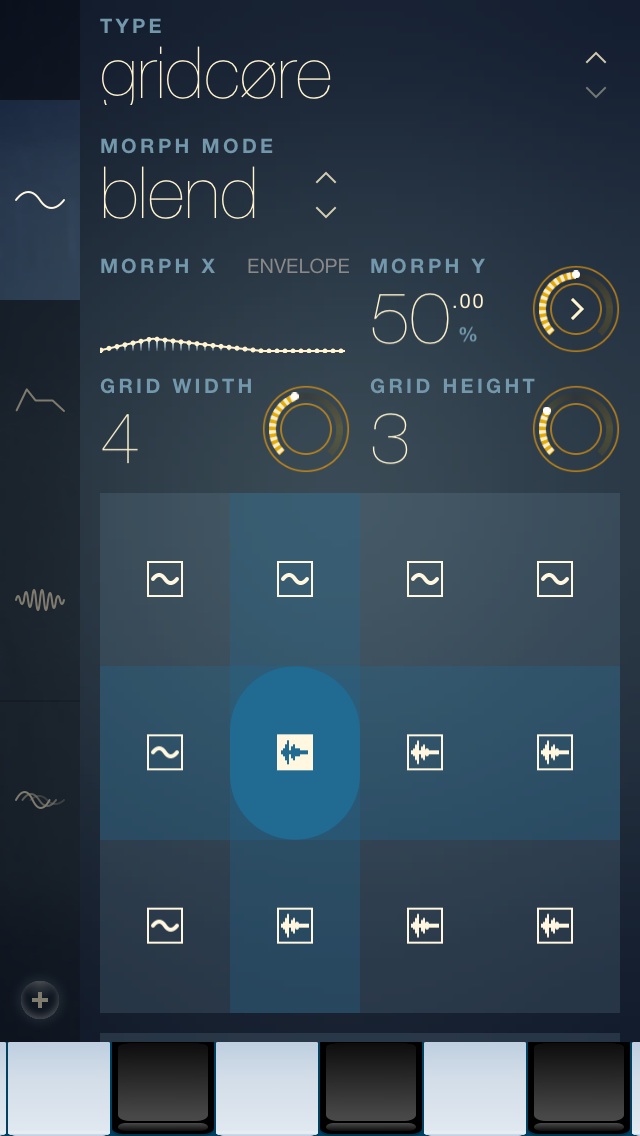
Gridcøre mode
For those of you who really want to get their hands dirty, the new Gridcøre mode is like an extended version of the Blender mode.
Mitosynth already supports up to 32 waves in the wavechamber, but from v1.1 you can arrange the waves into a grid (eg 8x4, 6x5, a simple 2x2) and morph across them in 2D.

In this, and classic Blender mode, you can now adjust the mix gain for each slot (to balance the levels) and also set the semitone offset (+-12).
What you do with Gridcøre is up to you, but some ideas I’ve found useful:
Set up a 2x2 grid with 4 different waveforms, and set both Morph X and Y to 50%. Now you have 4 independent wavetable oscillators.
Map Morph X % and Morph Y % to an XY-Pad’s axes, and you’ve got vector synthesis.
Put the same waveform in 4 slots, but with different pitches (using semitone offset) for a pre-baked chord.
Set up some waves in the Blender, then switch to Gridcøre to add a second row. When you add a row, it copies the previous one, so it’ll start off the same, but you can make changes and then start morphing between the changed/unchanged versions.
Add some sub-bass power to an existing Blender patch by switching it to Gridcøre and adding a row of sinewaves, shifted an octave down.
Not bassy enough? Want a two-octave gap? Shift all the existing waves up an octave, then compensate for it by going into Modulation and dropping one octave there.
You can arrange a grid with different wavesforms in each column, but a different version of the same waveform (eg with a different filter applied) on each row. Sweep left/right to morph waveforms, sweep up/down to morph filters/variations.
Which is what Prefilter has been doing automatically for you :) But if you have a sound library with, for example, real-life instruments recorded at different velocities, you can now make your own custom arrangements of instruments on one axis, velocities on the other.
Package Creation
This is one of those features not everyone will use, but hopefully will benefit from anyway: You can select a bunch of patches and export them into a “package”. You can then send this to someone, or put it on a website for download, or whatever you want to do with it. And if you come across a package like this, you can import it into Mitosynth, and all the patches will be installed in one go.
You can also select multiple patches to delete as well, useful for tidying up your library or uninstalling a package.